


3. Installation & registration
3.1 Installing AMIS Pro
AMIS Pro can be installed on Mac and Windows:
-
Mac
- Download AMIS Pro for Mac from www..... incomplete
- drag the file to...
- Run the installer: under the root folder, look for amispro.dmg and run the file.
- Accept the terms and conditions and follow the Installation Wizard.
- Once the installation is completed, you can launch the software immediately.
- To connect your printer, check section 4. Getting Started
-
Windows
- Locate the downloaded, compressed ("zipped") AMIS folder, unzip the entire folder, preferably to a newly created "C:\Program Files\AMISPro\" folder. (to unzip the folder, press and hold (or right-click) the folder, select "Extract All...", and then follow the instructions.)
- In the unzipped folder, look up “amis_pro.exe” under the root folder and double-click to start the program. Windows might give a safety warning, which needs to be overruled.
- You can also create a shortcut by right-clicking on the amis_pro.exe file and selecting "Pin to start".
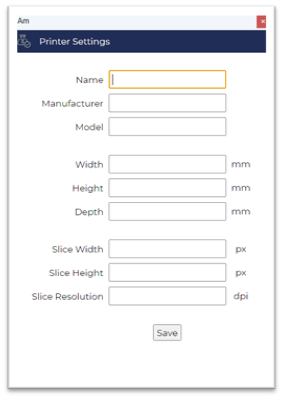
- Enter your license details: a pop-up screen will appear, allowing you to fill out the License Settings shared with you:
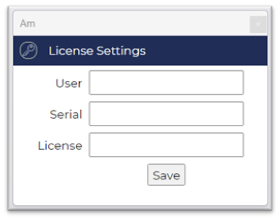
Upon successfully entering the correct details, you will be prompted to restart the program - as explained in step 2 above.
Once the installation is completed, you can launch the software immediately.
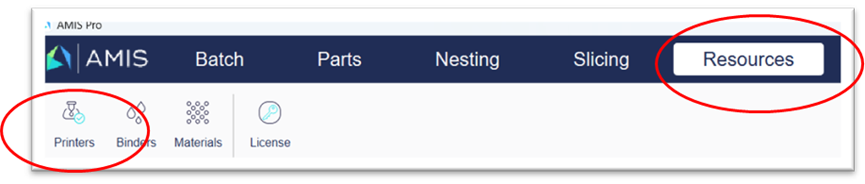
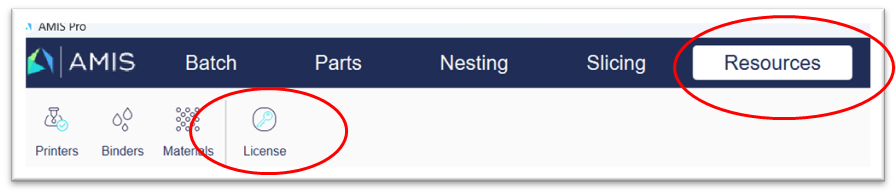
Note: these license settings can also be found under the header “Resources” – click the symbol “License”:
3.2 Configuration Options
incomplete
Users have access to the following configuration settings: selection to be made --> continue.
1. Security Configuration:- Authentication settings: Configuring user authentication (username/password)
- Authorization: Setting permissions and access control lists to control user access to various features or data.
- Encryption settings: Configuring encryption options to secure sensitive data.
-
Logging and Monitoring:
- Log file location: Configuring where log files are stored.
- Integration with monitoring tools: Configuring connections to monitoring systems for tracking system performance and errors.
-
Data Storage and File System Configuration:
- File storage paths: Configuring the location where uploaded files or other data are stored.
- Disk space management: Setting thresholds for alerts or actions related to available disk space.
-
Email and Notification Settings:
- SMTP server configuration: Configuring the email server for sending notifications.
- Notification preferences: Setting preferences for alerting administrators or users about specific events.
-
Customization and Branding:
- Theme and styling options: Configuring the visual appearance of the software.
- Custom fields and forms: Tailoring the software to specific business processes by adding or modifying data fields.
-
Backup and Recovery:
- Backup frequency and locations: Configuring how often data should be backed up and where backup files should be stored.
- Recovery settings: Configuring procedures and tools for recovering from system failures or data loss.
-
Localization and Internationalization:
- Language and locale settings: Allowing users to select their preferred language and date/time formats.
- Measurement Units: Metric or Imperial.
3.3 Troubleshooting Installation Issues
see 9. Troubleshooting;